
5 Fun and Easy Patch Decorating Projects for Kids
Patch decorating projects are a great way to spark creativity and imagination in kids. They allow children to express themselves through unique designs and personalization and can be a fun activity for parents to share with their kids.
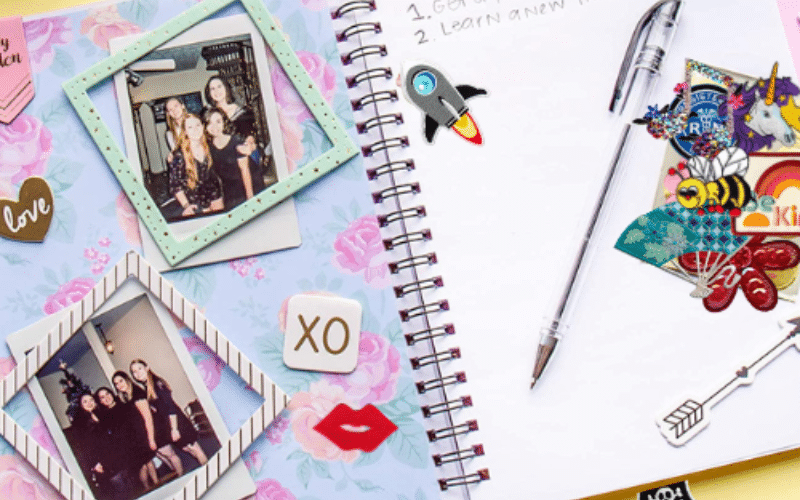
This blog will showcase five fun and easy patch-decorating projects for kids. These projects require minimal supplies and are easy for kids to complete with little help. From personalizing backpacks to designing patchwork wall hangings, these projects will provide hours of creative fun for your little ones. So, let's start creating some one-of-a-kind patches your kids will love showing off!


From personalized backpack patches to patch-covered journals, these projects offer a range of options for kids of all ages and interests. Not only do patch decorating projects allow kids to make something uniquely theirs, but they also encourage individuality and self-expression. So gather your materials, get creative, and enjoy making fun and personalized patches!
This blog will showcase five fun and easy patch-decorating projects for kids. These projects require minimal supplies and are easy for kids to complete with little help. From personalizing backpacks to designing patchwork wall hangings, these projects will provide hours of creative fun for your little ones. So, let's start creating some one-of-a-kind patches your kids will love showing off!
Project 1. Personalized Backpack with Patches
This project is perfect for children who want to add a bit of personality and style to their backpacks. Here are the materials needed, step-by-step instructions, and creative ideas for personalization:Materials Needed:
- Patches
- Fabric paint or markers
- Iron-on adhesive or fabric glue
- Scissors
- Pencil or pen
- Optional: Stencils, stamps, or other embellishments
Step-by-Step Instructions:
- Decide on a design or theme for the patch. You can use stencils or freehand your design onto the patch with a pencil or pen.
- Use fabric paint or markers to color your design.
- Once the paint has dried, cut the patch to the desired size and shape.
- Apply iron-on adhesive or fabric glue to the back of the patch and place it onto the backpack.
- Follow the instructions for the adhesive or glue to ensure the patch stays securely in place.
Project 2: Hat With Embroidered Patches
This project is perfect for kids who want to add a unique touch to their hats. Here are the materials needed, step-by-step instructions, and creative ideas for designing and embroidering hat patches:Materials Needed:
- Fabric patches
- Embroidery floss in various colors
- Embroidery needle
- Scissors
- Pencil or pen
- Optional: Iron-on adhesive or fabric glue, embroidery hoop
Step-by-Step Instructions:
- Decide on a design or theme for the patch. You can freehand your design onto the patch with a pencil or pen or use a printed template.
- Thread the embroidery needle with the desired color of floss.
- Use a backstitch or other embroidery stitch to outline the design on the patch.
- Fill in the design with more embroidery stitches, such as satin stitches or French knots.
- Once the embroidery is complete, cut the patch to the desired size and shape.
- Apply iron-on adhesive or fabric glue to the back of the patch and place it onto the hat. Alternatively, you can sew the patch onto the hat.
Project 3: Patch-Covered Journal
This project is perfect for kids who love writing or drawing and want to make their unique journal. Here are the materials needed, step-by-step instructions, and creative ideas for designing and decorating a patch-covered journal:Materials Needed:
- Blank journal or notebook
- Fabric patches
- Fabric glue or double-sided tape
- Scissors
- Pencil or pen
- Optional: Iron-on adhesive, decorative tape, stickers, markers
Step-by-Step Instructions:
- Choose a blank journal or notebook to use as the base for your patch-covered journal.
- Arrange the fabric patches on the journal cover until you are happy with the design.
- Use fabric glue or double-sided tape to secure the patches onto the journal cover.
- Cut any excess fabric around the edges of the patches to create a clean, finished look.
- Add additional decorations, such as decorative tape or stickers, to customize the journal cover further.
- Use markers or pens to write your name or other text on the cover, if desired.
Project 4: Denim Jacket with Patches
This project is perfect for kids wanting to add personality to their denim jackets. Here are the materials needed, step-by-step instructions, and creative ideas for customizing denim jackets with patches:Materials Needed:
- Denim jacket
- Fabric patches
- Fabric glue or iron-on adhesive
- Scissors
- Optional: Pins, embroidery thread, buttons, decorative tape, stickers
Step-by-Step Instructions:
- Choose a denim jacket to use as the base for your patch decorations.
- Choose the patches you want to use and arrange them on the jacket until you are happy with the design.
- Use fabric glue or iron-on adhesive to secure the patches onto the jacket.
- If using fabric glue, allow the patches to dry completely before wearing the jacket.
- Optional: use pins, embroidery thread, or buttons to further secure the patches onto the jacket.
- Add additional decorations, such as decorative tape or stickers, to further customize the jacket.
Project 5: Patchwork Wall Hanging
This project is perfect for kids who want to create a decorative item for their room or a special gift for a loved one. Here are the materials needed, step-by-step instructions, and creative ideas for designing and creating a patchwork wall hanging:Materials Needed:
- Patches of different color and design
- Scissors
- Ruler
- Needle and thread or sewing machine
- Iron and ironing board
- Dowel rod or wooden embroidery hoop
- Twine or ribbon for hanging
- Optional: fabric glue, batting, or stuffing for added dimension
Step-by-Step Instructions:
- Cut fabric scraps into squares or rectangles of the same size.
- Arrange the squares or rectangles into a pleasing pattern on a flat surface.
- Use a ruler to ensure that each piece is aligned properly and has the same seam allowance.
- Sew the pieces together using a needle and thread or a sewing machine. Press the seams with an iron and ironing board.
- Optional: add batting or stuffing between the layers for dimension and texture.
- Cut a piece of fabric for the back of the wall hanging and sew it onto the patchwork front, leaving a small opening for turning.
- Turn the wall hanging right side out and sew the opening closed.
- Fold the top edge over a dowel rod or wooden embroidery hoop and secure it with twine or ribbon.
Conclusion
Patch decorating projects are a fantastic way for kids to express creativity and personalize their belongings. With these five fun and easy patch decorating projects, kids can learn new skills, explore their imagination, and have fun while making something special.From personalized backpack patches to patch-covered journals, these projects offer a range of options for kids of all ages and interests. Not only do patch decorating projects allow kids to make something uniquely theirs, but they also encourage individuality and self-expression. So gather your materials, get creative, and enjoy making fun and personalized patches!